


Sound Library Management Overview
Soundly manages sound effects from three different sources:
• Local sound effects stored on hard drives physically attached to your computer or a connected network. These are sound effects you already own and would like to catalog and manage in the Soundly app.
• Cloud sound effects from the 10,000+ Soundly Pro library and the Freesound.org collection. These clips are streamed from the Internet via Soundly search results.
• Store sound libraries from independent field recordists and sound designers that can be purchased and downloaded through the app.
All sounds are organized in Soundly’s left pane. Local and cloud sound libraries are stored at the top. At the bottom of the pane clips can be sorted in custom playlists which can be shared with others.
1. An introduction to Soundly
2. The Soundly Quick-Start Guide
4. How to Find and Use Sound FX Clips with Soundly
5. 5 Killer Features in Soundly
If you want to take Soundly 2 for a spin, download it for free for Windows here, and Mac here.
Local Sound Libraries
Soundly can add sounds stored on local hard drives. This includes sounds in folders on your internal hard drive, external media, and networked storage. Start by finding sound effects you would like to add. You can choose either groups of “loose” files, or folders containing many files.
- Select the files or folders you want to add.
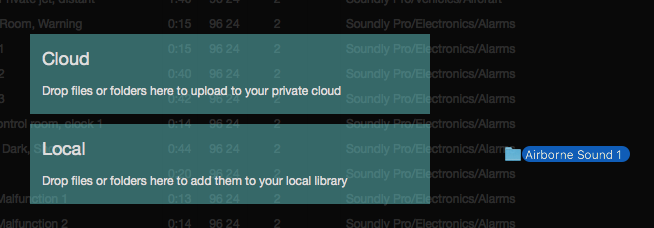
- Drag them onto the main Soundly window. Or, you may select the File/Import audio menu item. The screen will display two option boxes: Cloud or Local.
Note: the Cloud option is only available to multi-user accounts.
 When adding sound clips to Soundly, you have two options:
How to add sound fx to your Local sound library:
- Release the sounds on the Local option box. A new screen will appear with options.
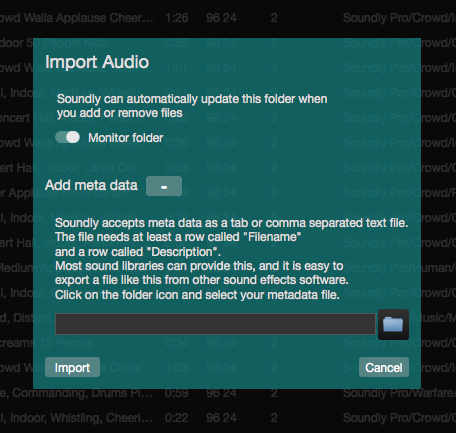 • Monitor folder: when selected, Soundly will scan this folder’s contents, and add or remove files to Soundly as they are changed in the desktop folder.
• Add meta data: this option allows associating a tab-separated or comma-separated text file to be associated with the import. The first column of this file must match the file name. The second column will provide extra text description. If you’d like to choose this option, click the plus sign button, then the folder button. That will open up a file browser that will allow you to find and select the text file. - Click Import. Soundly will display a progress bar while it adds and indexes the sound files.
OR How to add sound fx to your Cloud sound library:
- Release the sounds on the Cloud option box. A new screen will appear with options.
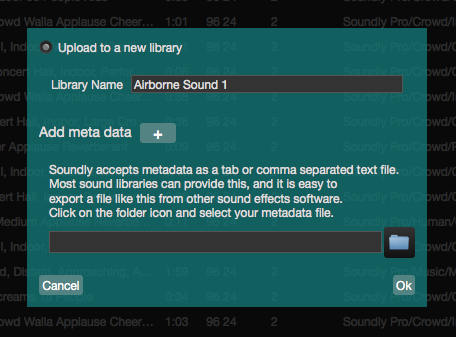 • Upload to a new library: this creates a new sound library with the a name you add in the field below.
• Or upload to existing library: this selection allows you to choose from a previously created cloud sound library.
• Add meta data: this option is identical to the method for adding metadata to local folders, above. - Click Ok. Soundly will display a progress bar while it uploads the sound files to your private cloud.
Learn more details about cloud collaboration in a future article.
Note: free accounts are limited to adding 2,500 sound clips.
Cloud Sound Libraries
Soundly also offers a cloud sound library called Soundly Pro. It is immediately available in Soundly, and you will see sounds from these collections appear at the bottom of your search results.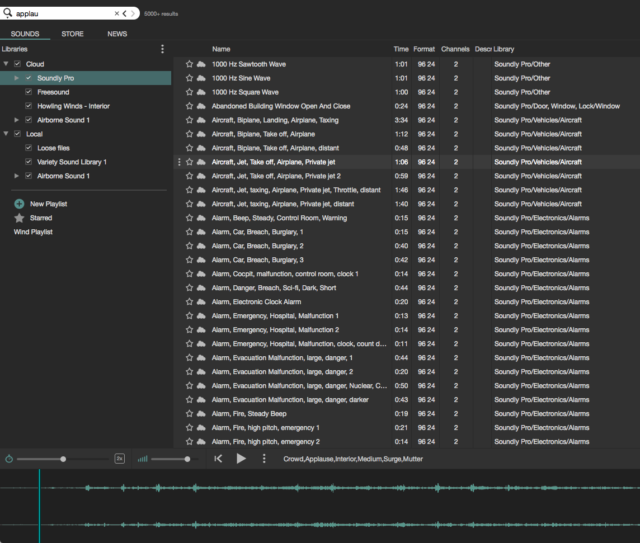 Free users can access 400 clips from the Soundly Pro library. Soundly subscribers of the 24hr or monthly passes have access to the entire 10,000+ Soundly Pro library and the Freesound.org library, too.
Store Sound Libraries
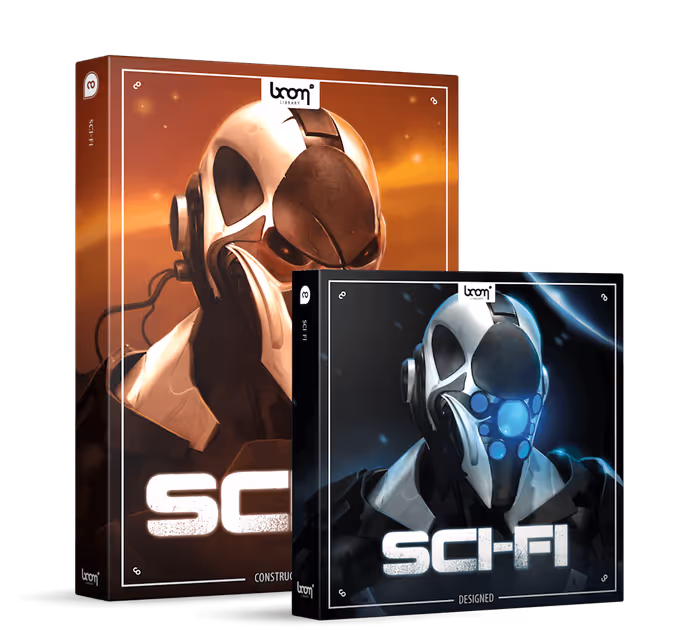
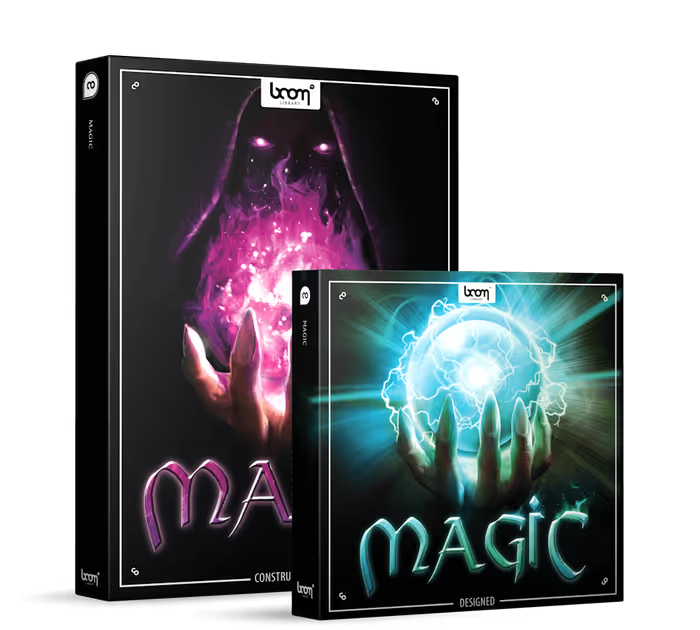
Soundly offers dozens of sound fx bundle libraries from sound designers and field recordists.
Click the Store tab at the upper left of the main Soundly window to browse and buy the sound libraries. The store will be displayed.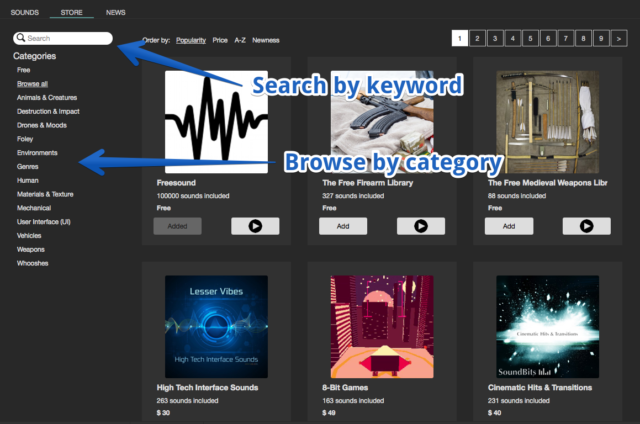 You can find sound libraries by typing keywords into the search field beneath the store tab and pressing return. You can also browse library themes by clicking text beneath the Category column to show libraries sorted by type. Sort search results by clicking the text beside Order by: Popularity, Price, A-Z, and Newness. You can scroll down through multiple results, and jump to later pages by clicking the numbers at the top-right and bottom-right.
For each library, you may click the album cover image to learn more about the collection.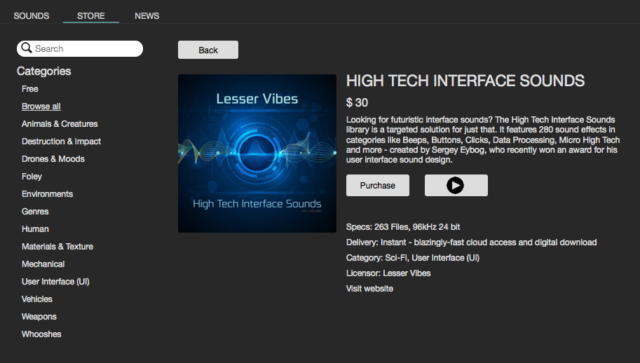 Click the play button to audition the library demo. Click Purchase to buy the collection:
- Click the Purchase button. A new window will appear with license terms.
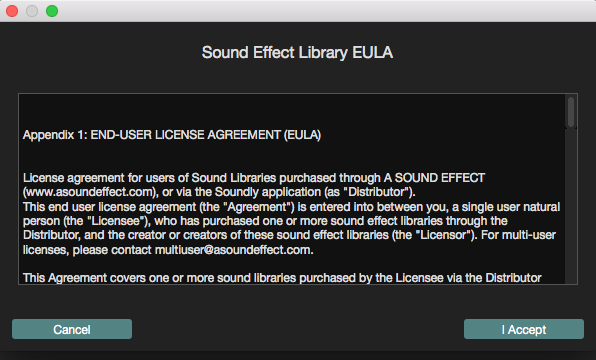
- Click I Accept to proceed.
- Add your information.
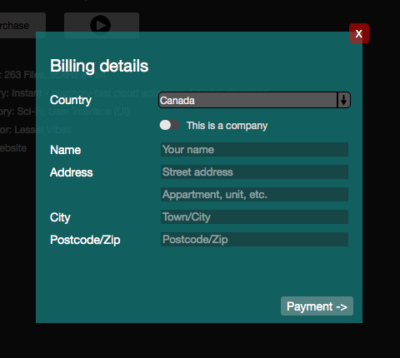
- Click Payment.
- Add your credit card information.
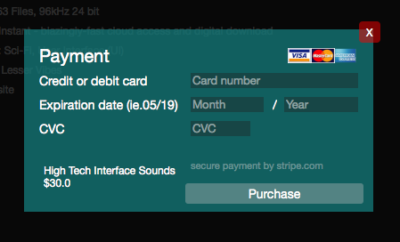
- Click Purchase.
The sound library will be purchased, and will be added to your Soundly account.


Managing Sound Libraries
Now that you’ve added sound files from your local network, the cloud sound libraries, or the store, how do you manage them? First, let’s see where they’re stored. Then we’ll learn how they can be organized.
Sound Library Lists
Sound libraries are found in Soundly’s left pane under the Libraries.
Cloud Libraries
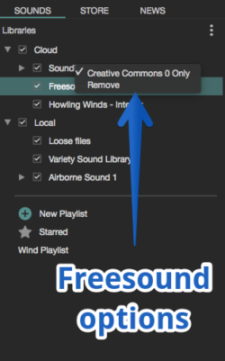 The Cloud item includes the Soundly Pro library, the Freesound.org library, any sound libraries purchased through the Soundly store, or sound fx uploaded to your private cloud. Click the arrow to the left of Cloud, and all these libraries will be displayed. Right-click the Freesound library to display Creative Commons 0 (i.e., unrestricted use) sound clips in search results. Unchecking this will display all Freesound clips. Please note that not all of them include a license to use them in every project. Right-click store-bought libraries and select Download to transfer them from the cloud to your computer. You’ll be prompted for a download location, and then the library will begin to download in a separate “Downloads” tab, where the download can be paused and cancelled. There is also a button to display the files’ location on the desktop.
Local Libraries
Beneath the Cloud libraries is the Local item. Click the arrow to the left to display all Local sound libraries. Sounds added directly to Soundly are gathered in the “Loose files” item. Folders of sounds are listed beneath, titled with the folder name.
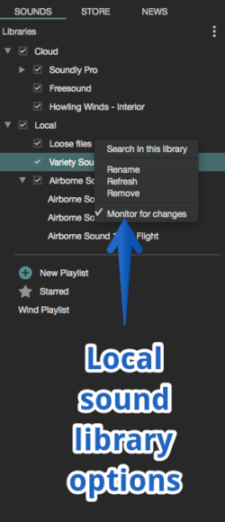
Right-clicking any Local library allows:
• Search in this library: limits search results to just the selected library.
• Rename: assign a new name to the library. Note: this changes the title in Soundly, not the hard drive folder itself.
• Refresh: rescans and updates the library folder to reflect files added or removed since the last scan.
• Remove: deletes the library item from Soundly. Note: this does not delete the files themselves from your computer.
• Monitor for changes: instructs Soundly to watch the library folder and update the sound list when clips are added or removed.
Playlists and Starred Sounds
 Soundly can gather custom selections of files in Playlists and Starred lists.
Playlists
Playlists gather clips from any sound library. They’re perfect for making a list of files for your current project, a selection of interesting sounds you want to show your sound supervisor, a collection of fx that need metadata touch-ups, and so on. Here’s how you create a playlist:
Click New Playlist in the left pane. A window will appear.
Enter the name of your playlist. 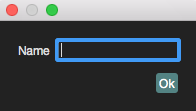 Click OK.
The new playlist will be added at the bottom of the list. Playlists can be dragged and rearranged in order. 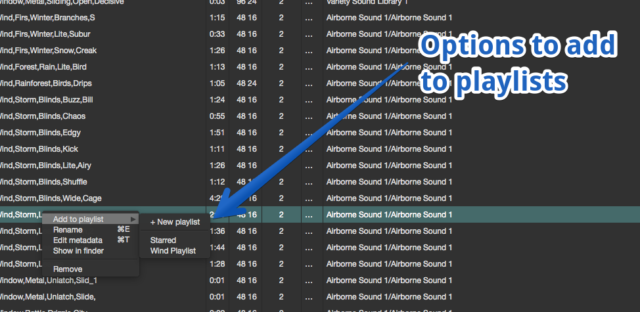 To add a sound to a playlist, simply drag it from the search results onto the playlist name. You can also add a sound to a playlist by right-clicking the clip in the search results, selecting Add to playlist, and choosing an existing playlist, or creating a new one by selecting +New playlist. Right-clicking a playlist allows it to be renamed or deleted.
Power user tip: Playlists can also be shared, which we learn more about in a future article.
Starred Lists
Starred lists are a simpler type of playlist. They’re a good way to quickly save a list of favourite sounds without going through the hassle of creating a playlist and setting access permissions. 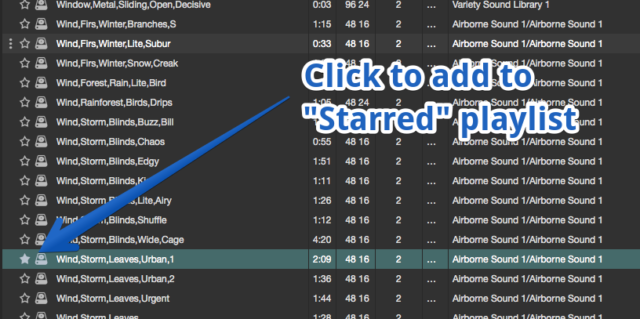 Add a clip to the Starred playlist by clicking the star icon next to any sound effect in the search results. This can also be done by right-clicking a sound in the search results, and selecting Add to playlist and Starred. Right-clicking the Starred playlist allows it to be renamed, or deleted.
A big thanks to Paul Virostek for this helpful Soundly guide. Keep a look out for more Soundly guides coming soon!
for Windows here, and Mac here.